Classroom AV System
Starting the classroom
1. Locate the touch panel and tap the screen to see the system power page.
2. Tap the Turn System On button.

3. Wait for system to finish booting.
Selecting a source
1. Tap one of the available sources located on the left of the touch panel.
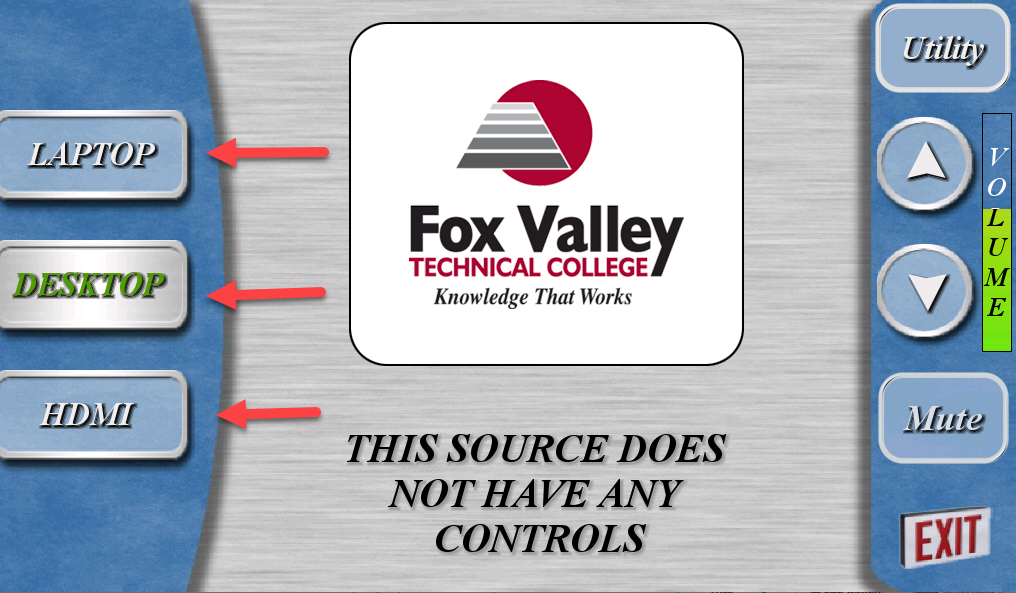
Note: The active source will appear different in color. Ex.. desktop is the selected source in the picture above.
Laptop is for VGA (analog) connections, for audio use the headphone jack with the VGA connection.


HDMI (Digital)

Adjust room volume
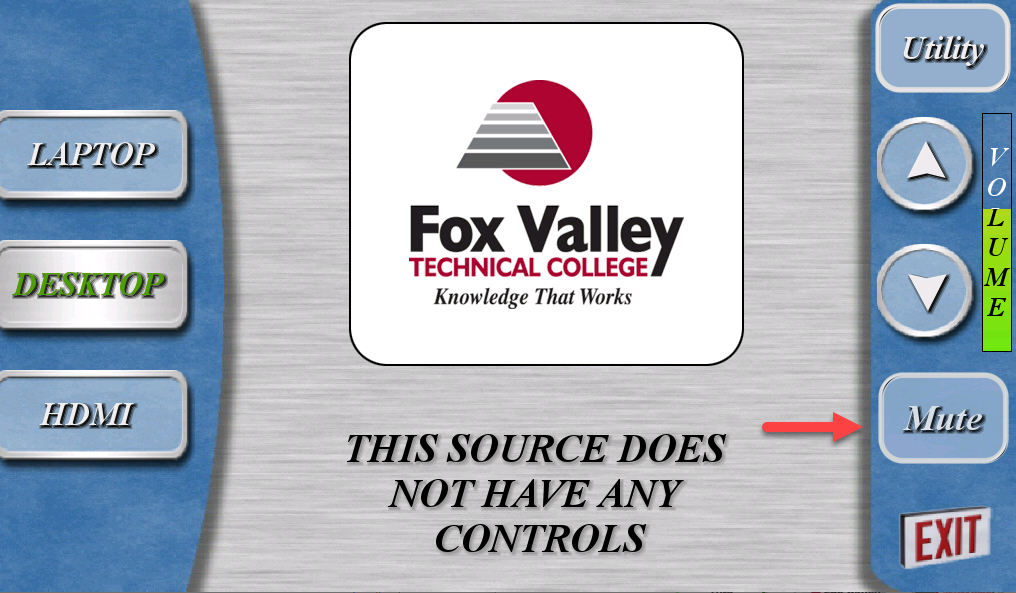
1. On the right hand side of the touch panel is an up arrow (volume up), down arrow (volume down).
![]()
2. Mute the sound with the Mute button
Projector Control
1. Tap Utility in the upper right hand corner of the touch panel.

2. This is where you can control the power on and off of the projector only.

3. Tap Image Mute. This will blackout the projector, but the projector is still powered on.

Shutdown the classroom
1. Tap Exit in the lower right hand corner to show the shutdown page.

2. Tap Shutdown Room Now.
